Showing posts with label Christmas. Show all posts

Monday, February 2, 2015

Christmas Card of the Month

Well, here we are at the first Sunday (okay, Monday, I'm a day late) of the month. That means it's time for me to make and post my monthly Christmas card.

Here we have this months offering in all its glory. I really liked doing these ones as they came together so quickly. I think the longest time was spent colouring the houses.


For some reason, I can't get this picture to turn the right way--what a dufus!

Well, we're up to 8 finished cards so far. A good start I think.

Thanks for stopping by.

Hugs,
Michelle 

Sunday, January 4, 2015

Planning for Success and Christmas Card of the Month

They say you should start the year as you want to end the year. With that thought in mind, I'm going to try and be more organized with my blogging, menu planning (and by that I mean eating properly to try and lose some weight) and card making.

I downloaded a fab FREE blog planner from My May Sunshine. After printing all the pages to carry me through the year (I added a couple of my own pages too: a yearly calendar, birthday/anniversary calendar, password log and giveaway log--another thing I want to start doing this year) and took it to my local office supply store and had them add durable covers and spiral bind it for me.

My menu planner (again, FREE) came from 733blog.com (love the little owls) and there is also a matching recipe book that goes with. Printed out the number of pages I needed and added a freezer checklist and had this spiral bound as well.

For the card making I'm going to try and enter some weekly challenges, but the thing I think will help the most will be my Christmas Card of the Month which I will post on the first Sunday of each month. I figure if I make four cards a month, by the time December rolls around I will have enough cards for the people I normally send to. And just to make it easy, all four will be the same design. That way I won't get bored of making too many of the same design.

On that note, here is the first card of the series.


The basis for this design came from Connie Stewart and her flash card series. Her video on this card can be found here. Connie is a very talented lady and a Stampin' Up demonstrator like me, only far more established. I only signed up 9 months ago and haven't really done anything business-wise yet. 

Hmmm, maybe that should be one of the goals I set for myself as well...

Thanks for stopping by.

Hugs,
Michelle

Sunday, October 31, 2010

Jolly Christmas Tree

Happy Halloween all! 
Not having any young kids in my family I've decided to bypass Halloween cards/items and stay on my Christmas kick.
I love this card as it is so simple to make and looks really cute.


Supplies needed:
Whisper White and Real Red card stock
Basic Grey ink
Jolliest Time of the Year and Many Merry Messages stamp sets
Non-SU supplies (I know--shame on me, but I had so much other stuff before I started with SU that I need to use up so that I can replace it with SU product!)
Swiss Dots folder
1/4" red ribbon
Red gems 


Use Whisper White to make standard card base (5 1/2" x 4 1/4")
Cut Real Red mat 5 1/4" x 4" and attach to card base
Cut Whisper White 5" x 3 3/4" and run through Cuttlebug (or Big Shot) leaving the bottom 1 1/2" unembossed
Stamp "Noel" across the bottom in Basic Grey ink
Wrap a length of red ribbon over meeting of embossed/unembossed parts and secure on rear.
Attach to card
Cut Real Red mat 3 1/4" x 3"
Cut Whisper White 3" x 2 3/4"
Stamp tree in Basic Grey ink and add red gems to resemble ornaments
Attach to red mat and affix to the card base


Ta-da. All done in about five minutes. That's my kind of Christmas card.
Because of the simplicity of this card it would be perfect for mass production assembly line style.
Have a super week everyone!
Hugs,
Michelle

Sunday, October 24, 2010

Christmas Collage Gift Card Holder

Another cool idea for the Christmas Collage and Bells and Boughs stamp sets.
The idea for this project came from Linda Creech.

Front

Inside
I love this gift card holder because it makes for a really elegant presentation. With a change of paper and stamp sets this could be used for birthdays, weddings, baby gifts, etc.
Supplies:
Cherry Cobbler, Very Vanilla paper
Soft Suede ink
Christmas Collage, Bells and Boughs stamp sets
Poppy Parade and Pear Pizazz markers
Ticket corner punch 

All supplies are Stampin' Up unless otherwise noted.


Cut Cherry Cobbler 7" x 4 1/4". Score at 3 1/2" and fold.
Cut second piece of Cherry Cobbler 4 1/4" x 3 1/2" and cut in half on the diagonal.
Secure to inside panel with sticky strip on two outside edges.
Cut Very Vanilla panel 4" x 3 1/4" and cut in half on the diagonal.
Stamp with holly bough from Bells and Boughs stamp set.
Colour in with Pear Pizazz and Poppy Parade markers.
Ink edges with Soft Suede and adhere to triangle panel.
Cut Very Vanilla panel 4" x 3 1/4" and punch with ticket corner punch.
Ink Christmas Collage stamp with Soft Suede and stamp desired section of the image on panel.
Colour any holly with Pear Pizazz and Poppy Parade markers.
Ink edges with Soft Suede and adhere to front of card.


Simple and sensational. Enjoy!
Hugs,
Michelle

Saturday, October 23, 2010

Christmas Collage Card

I just received my order from Stampin' Up the other day and I am so excited about the Christmas Collage background stamp and the Bells and Boughs stamp set. I've been hard at work and here's what I've come up with.

Front

Inside
To make this card you will need the following supplies: 
Cherry Cobbler, Very Vanilla card stock. 
Soft Suede ink pad. 
Poppy Parade, Pear Pizazz markers. 
Christmas Collage background stamp 
Bells and Boughs stamp set  
Extra large Decorative Label Punch.
All supplies from Stampin' Up unless otherwise noted.

Cut your base card from Cherry Cobbler 4 1/4 x 11". Score at 5 1/2" and fold.
Cut piece of Very Vanilla 5 1/2" x 4 1/4".
Ink background stamp with Soft Suede and stamp.
Colour holly leaves in Pear Pizazz and berries in Poppy Parade.
Ink edge of card with Soft Suede.
On a scrap piece of Very Vanilla, stamp "A Merry Christmas" from the Bells and Boughs stamp set.
Punch out the the Decorative Label Punch.
Using the holly stamp from Bells and Boughs, stamp small holly leaves randomly around edge of punched piece.
Colour leaves with Pear Pizazz marker.
Ink edges with Soft Suede and attach to card with dimensionals.
Attach panel to card front.
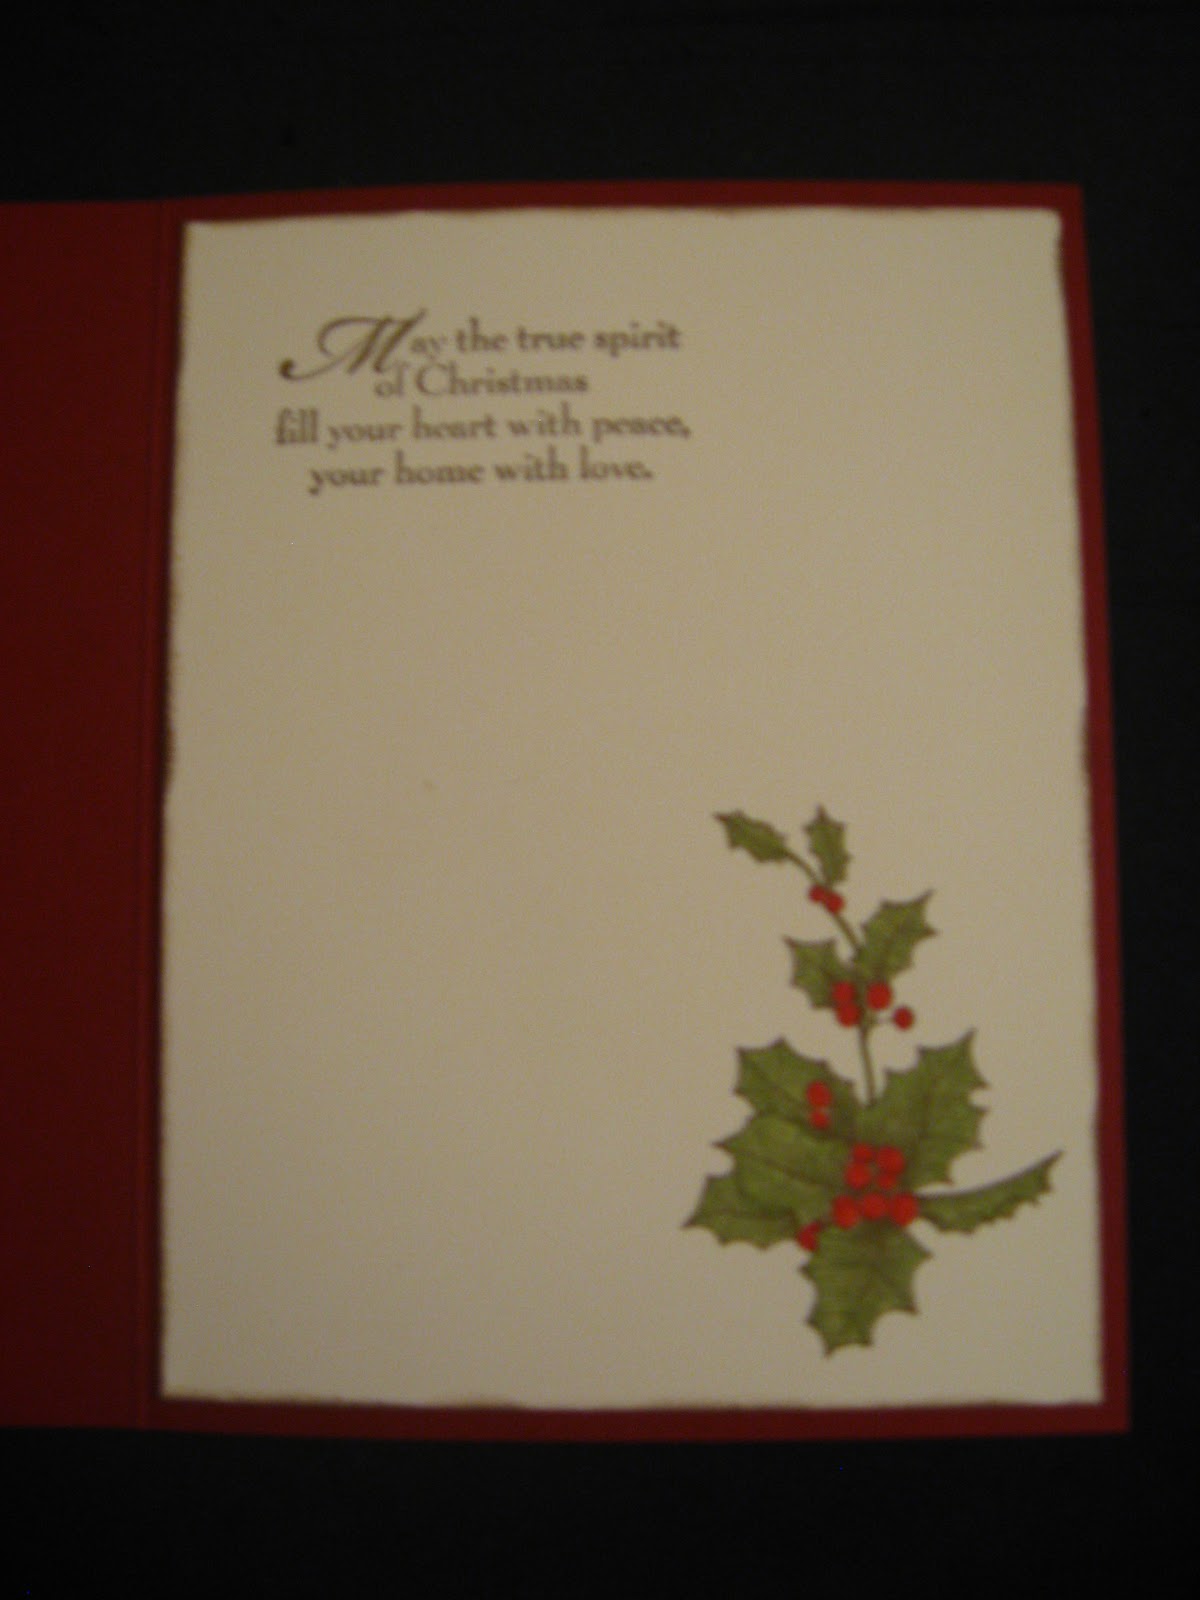
For inside of card, cut 5 1/4" x 4" panel of Very Vanilla.
Stamp holly and colour.
Stamp sentiment of your choice.
Adhere panel to inside of card.

Voila! A vintage inspired holiday greeting.

I've got other things in mind for this stamp set, so stay tuned!
Hugs,
Michelle