I just received my order from Stampin' Up the other day and I am so excited about the Christmas Collage background stamp and the Bells and Boughs stamp set. I've been hard at work and here's what I've come up with.
 |
| Front |
 |
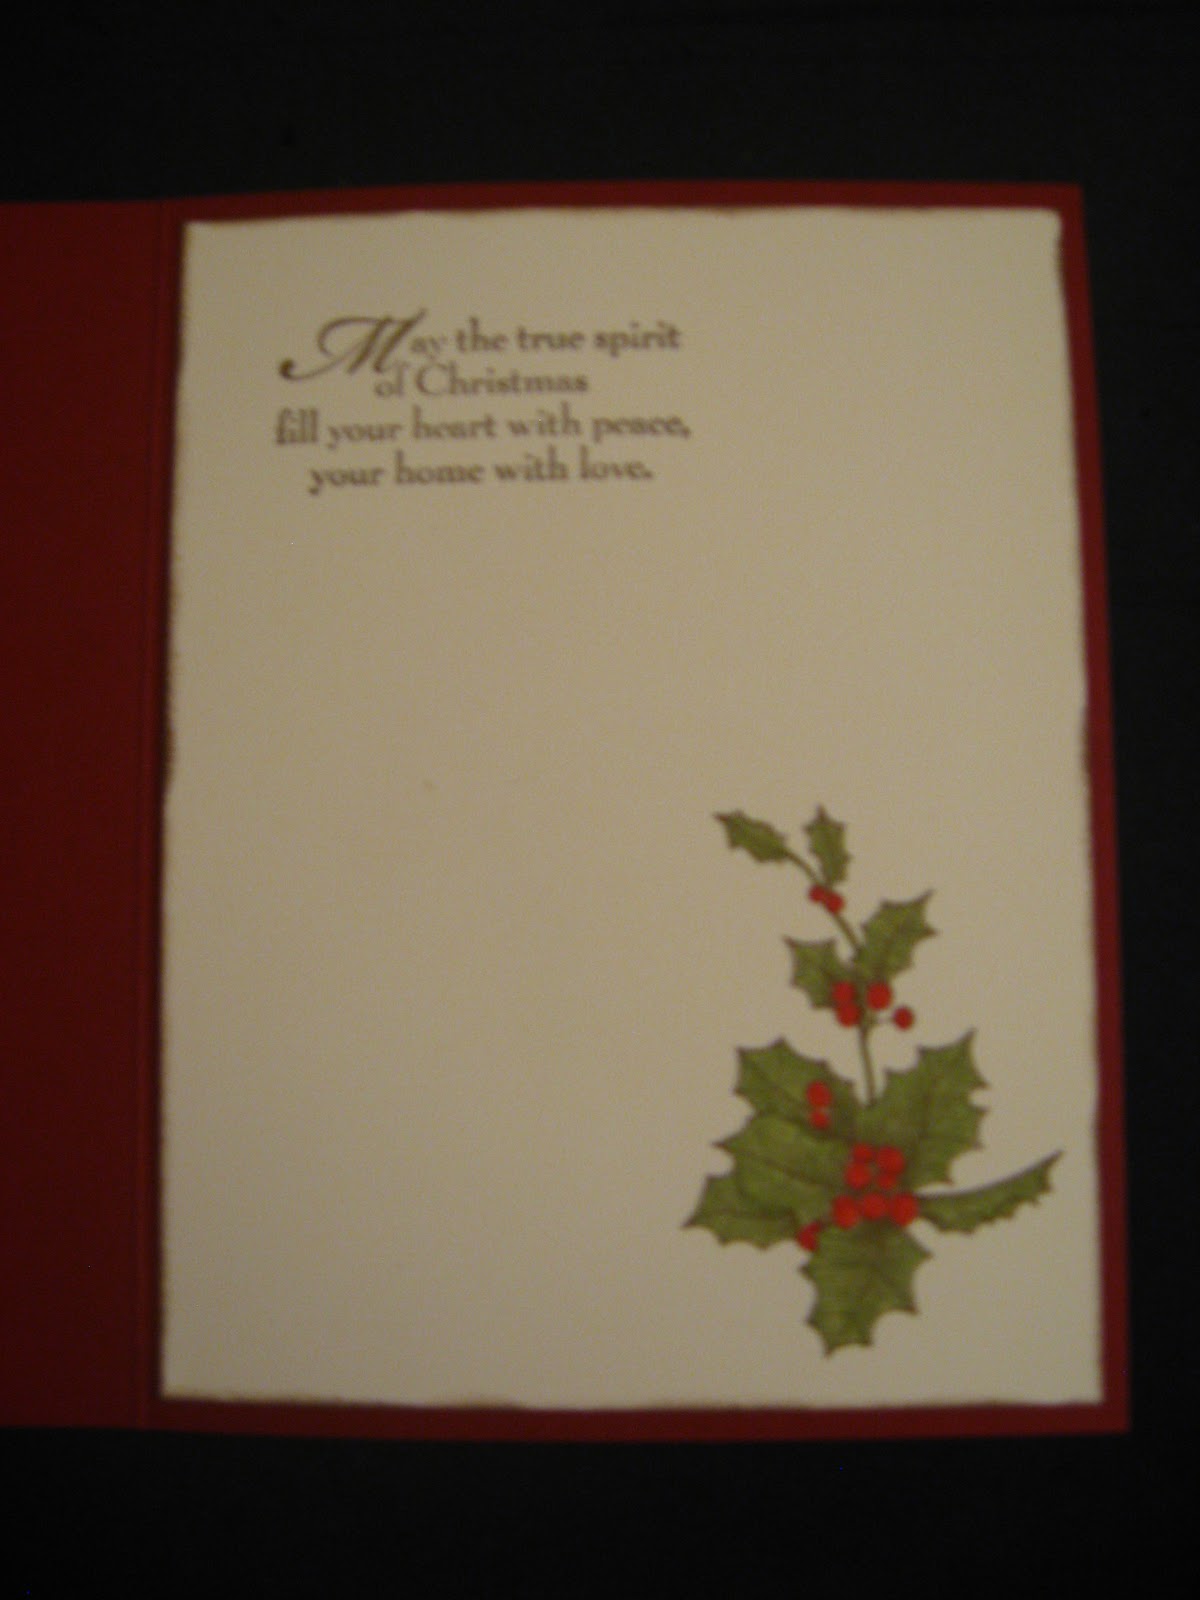
| Inside |
To make this card you will need the following supplies:
Cherry Cobbler, Very Vanilla card stock.
Soft Suede ink pad.
Poppy Parade, Pear Pizazz markers.
Christmas Collage background stamp
Bells and Boughs stamp set
Extra large Decorative Label Punch.
All supplies from Stampin' Up unless otherwise noted.
Cut your base card from Cherry Cobbler 4 1/4 x 11". Score at 5 1/2" and fold.
Cut piece of Very Vanilla 5 1/2" x 4 1/4".
Ink background stamp with Soft Suede and stamp.
Colour holly leaves in Pear Pizazz and berries in Poppy Parade.
Ink edge of card with Soft Suede.
On a scrap piece of Very Vanilla, stamp "A Merry Christmas" from the Bells and Boughs stamp set.
Punch out the the Decorative Label Punch.
Using the holly stamp from Bells and Boughs, stamp small holly leaves randomly around edge of punched piece.
Colour leaves with Pear Pizazz marker.
Ink edges with Soft Suede and attach to card with dimensionals.
Attach panel to card front.
For inside of card, cut 5 1/4" x 4" panel of Very Vanilla.
Stamp holly and colour.
Stamp sentiment of your choice.
Adhere panel to inside of card.
Voila! A vintage inspired holiday greeting.
I've got other things in mind for this stamp set, so stay tuned!
Hugs,
Michelle


